How to Place Blocks
Create and place blocks of content while editing a page.
Note: To place blocks on multiple pages throughout your site, it's best to Place Blocks with Context.
Click on the Edit Layout Tab
- Click on the Edit Layout tab below the page title. Or see step 2.

- if you are already editing the page, click the Edit Layout tab.


Decide Where to Place the Block
The Edit Layout admin page displays a list of regions accessible from this method. The regions that appear on the top of the page are listed first and subsequent regions on down the list. Scroll down and find the Content Region to which you want to add a block.

Related: Layout Regions.
Add a New Block
- If you haven't created the block yet, choose a block type from the Add new block drop-down.
- You should then see the fields of the block type you are about to create. Once you've finished filling in the fields for your new block, scroll down and click the Create block button.


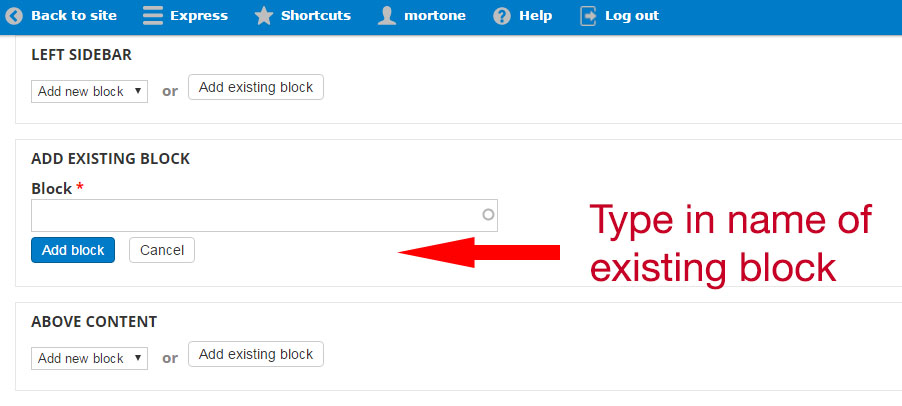
Or Add an Existing Block
- If you've already created a block on your site that you want to add to the page, click the Add existing block button.
- You can then start typing in the autocomplete field for the block you wish to place.
- Once you've found the block, press the Add block button.
Update the Layout
To save your work, scroll to the bottom of the page and click Update layout.

Remove Blocks
- Click Remove next to the block you wish to remove from the page. A confirmation message will appear.
- To only remove the block from the page: Click Remove.

- To remove the block from the page and delete the block from the system: check the box next to Delete this block from the system and click Remove.

- To only remove the block from the page: Click Remove.
- Click Update layout to save your work.

