Newsletter Type
There are two steps in creating a Newsletter. The first step is to set up a Newsletter Type in which you name your newsletter, select a design and create a path on your site that all the newsletters created using this type will fall under. You may create several newsletter types on your site, each with its own set of newsletter content. For example you may have several newsletter audiences and have a faculty newsletter, student newsletter and even an alumni newsletter. All newsletter types will also have their own unique URL path on your site.
Note: The Newsletter feature is available in the Newsletter bundle. Enable the bundle before you start the tutorial. Since this bundle is part of the Request bundles group, when you request this bundle a quick accessibility review of your site is made before the bundle will be ready to use. This may take thirty minutes to an hour to complete.
Add a Newsletter Type
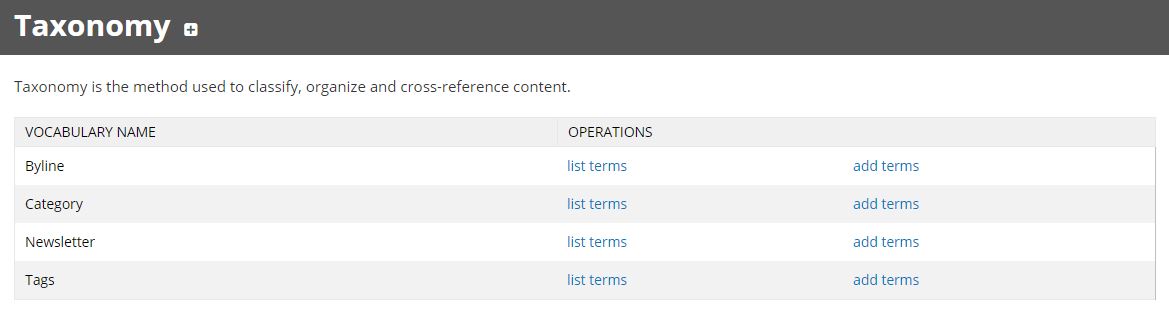
- Go to the Express toolbar and select Structure.
- Select Taxonomy from the list of options.
- Select add terms next to Newsletter.
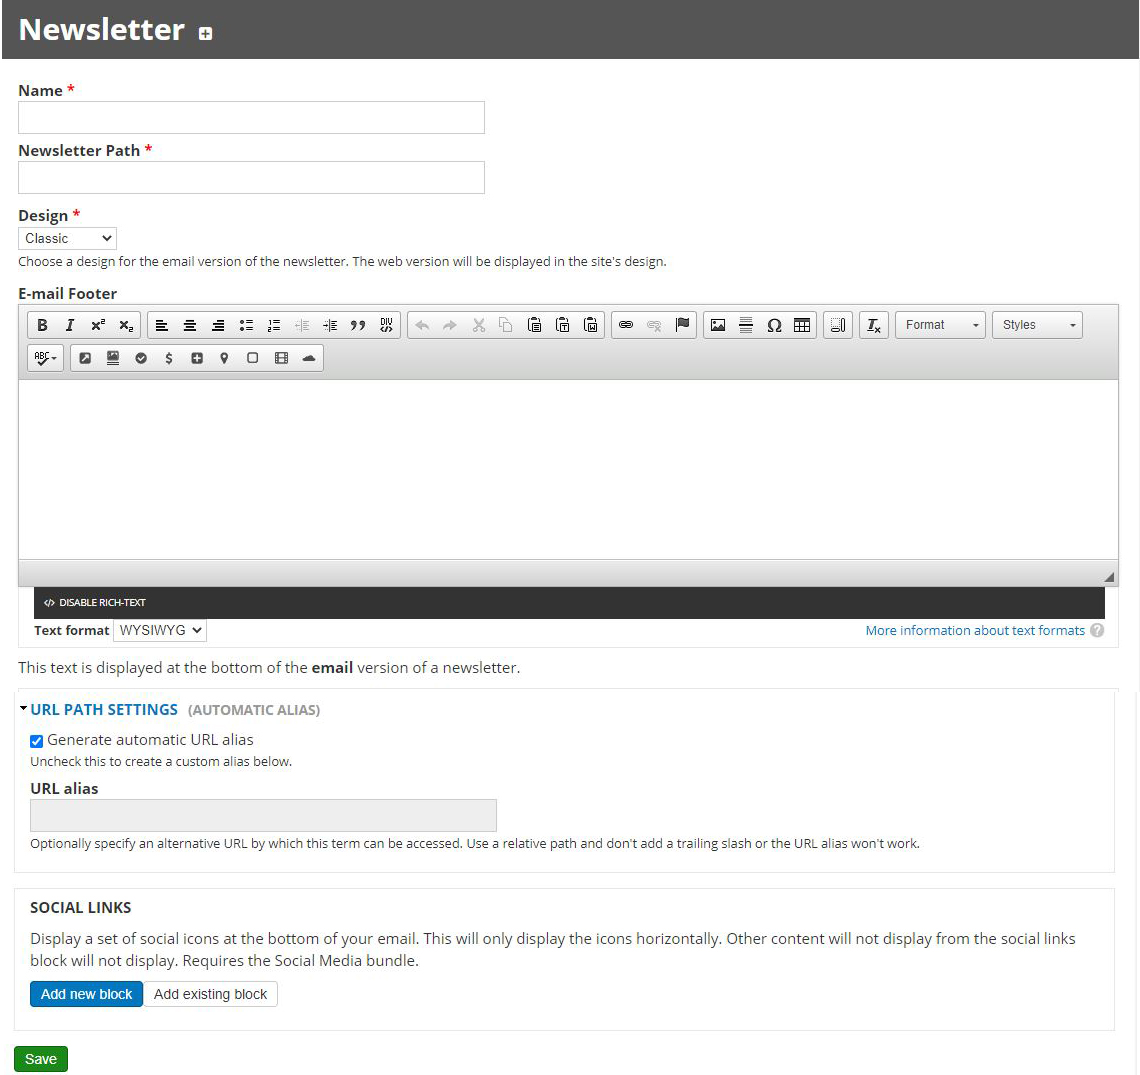
Configure Newsletter Type
- Name: add the name of your term.
- Newsletter Path: enter a path to nest the newsletter in the site navigation. For example: If your URL is www.colorado.edu/mysite and you would like the newsletter to be nested under News and Events (www.colorado.edu/mysite/news-and-events), enter "news-and-events".
- Design: choose any of the following designs (these display in the email, not on the web page). You will have the option to change these later.
- Classic
- Minimal
- Light Boxed
- Dark Boxed
- Simple
- E-mail Footer (optional):
- Social Links (optional): add your social media links to the footer of the newsletter
- Click Save.