JavaScript Includes
The Javascript (JS) Includes feature allows site owners and site editors to include external JavaScript files on their Web Express site. All JavaScript files have been vetted for security as well as functionality.
Note: you must enable the Advanced Layout bundle first to use this feature.
Add JS Include
- Go to the Express toolbar and select Content.
- Select the Includes tab.
- Click the Add Includes link.
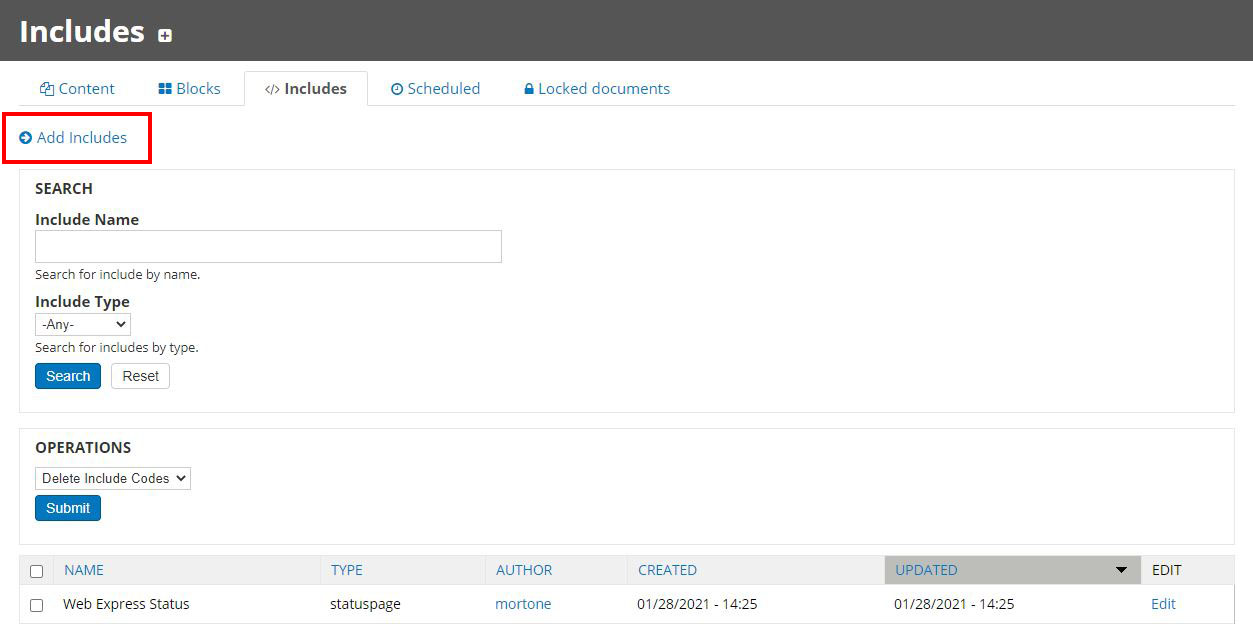
Include Types
There are four includes you may add. Each has its own set of requirements.
- AdmitHub Include: embed the AdmitHub chatbot service
- Requires: Label and License ID
- LiveChat Include: embed the LiveChat chatbot service
- Requires: Label and License ID
- Slate Form Include: embed the Slate lead generation forms service
- Requires: Label, Form ID and Slate Domain
- StatusPage Include: embed StatusPage system status page service
- Requires: Label and StatusPage.io URL
- Select an Includes Type link.
- Enter the label of the js includes. The label appears on the Includes Overview page and helps you search for and filter results.
- Complete the required fields for the include.
- Click Save.
Placing the JS Includes on a Page
Different types of JS Includes are placed on pages either through the Edit Layout feature on a page or through the Context feature.
AdmitHub or LiveChat:
To add the AdmitHub or LiveChat chatbots to your site, see the Placing blocks with context tutorial. Using context will allow you to place the js includes block sitewide or on select content within your site. In the Reaction choose: Include JS and select either the AdmitHub or LiveChat include from the list.
Slate Form or StatusPage:
To add a Slate Form or StatusPage include on your site, see the Placing Blocks tutorial to learn how to place your JS Includes block. The JS includes block consists of a dropdown list of all the Slate Form and StatusPage includes created on the site. Select an include from the list to be displayed on the page.

Managing JS Includes
When you are no longer using JS Includes services, it is best practice to remove the blocks from the site and remove the js include codes from the Includes Overview page.
- Go to the Express toolbar and select Content.
- Select the Includes tab.
- Scroll to the Operations section. The default operation is to Delete the js include code from the site.
- Select the box next to the include you would like to remove.
- Click Submit.
