Block Section Block

The Block Section block allows you to create visually rich displays by pulling in other blocks and placing them on a background image. Block Section blocks are best placed in the larger regions: Intro Wide, Slider or Post Wide regions.
Multiple blocks, such as Text Blocks, Content Grid blocks, etc., can be added to each block section. Place the blocks on a background image or a block of color.
Note: you must enable the Advanced Layout bundle to use this block.
Demo: Block Section Block
Create a Block Section Block
- Go to the Shortcuts toolbar and select Blocks.
- Click on Add Block at the top of the page.
- Select Block Section from the list of options.
- Or click Edit Layout on the page you wish to place the block.
Related: How to Place Blocks
Add Label and Title
- Label: a name used to uniquely identify the block.
- Title (optional): this displays above the Block Section block when placed on a page.
Add Blocks
- In the Content section either:
- Create a new block: select from the Add new block drop-down, fill in the content and click Create block.
- Or add an existing block: click Add existing block, type in the name of the block, then click Add block.
- Click Add block to place another block vertically in another row.
Note: You can add multiple blocks and rearrange them. The blocks don't need to be the same type. All block types are allowed except Article Slider blocks, Slider blocks, Hero Unit blocks and other Block Section blocks.

Add a Background Image (optional)
Add a background image for the block section. Images should be a large size. (2000 px wide)
- Click on the Design tab.
- Click Choose File to browse to the image file you would like to use.
- Click Upload.
Note: You may further customize the background image for tablet and mobile devices. If you do not choose an image for tablet or mobile devices, then the first Background Image will display for all devices.

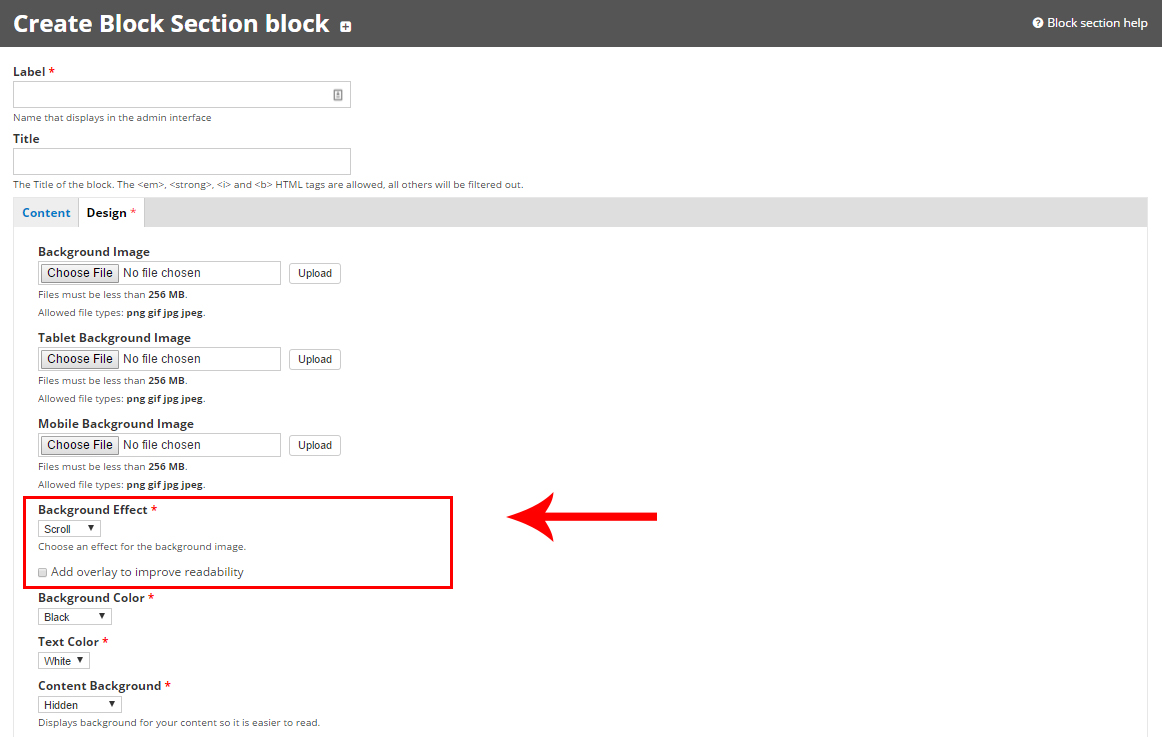
Choose a Background Effect
- Choose an effect for the background image from the Background Effect drop-down.
- Fixed: the background image and the foreground block are tied together and the two scroll together as the reader scrolls down the page.
- Scroll: the foreground block moves over the background image. Choose a tall vertical image for the most striking effect.
- Parallax: the foreground block moves over the background image and the two move subtly in relation to each other. This effect is slower than the scrolling effect.
- Check the box Add overlay to improve readability to add a semi-transparent overlay to the background image.
Choose a Background Color (optional)
If you don't want to use a background image, you can just set a background color in the Background Color drop-down. If you are stacking multiple block sections on a page, sometimes they will look better if you alternate between background images and background colors.

Choose a Text Color
Depending on the background image or background color you have chosen, select from the Text Color drop-down either white or black text for readability.

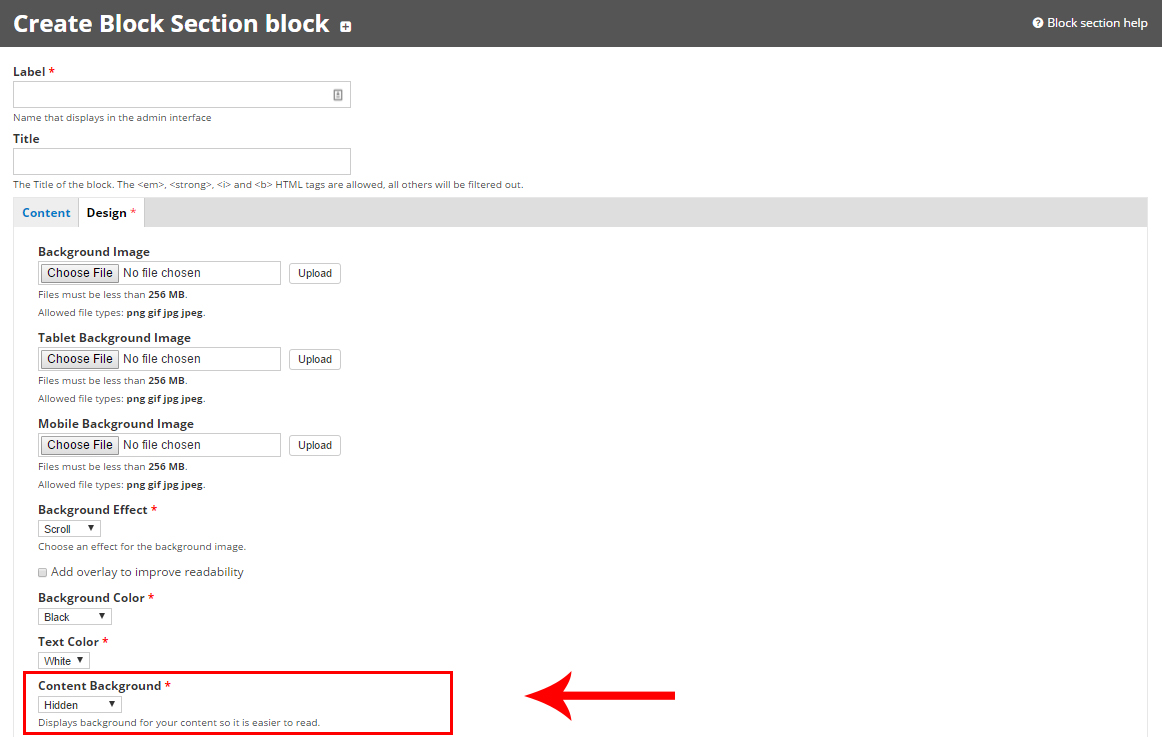
Choose a Content Background (optional)
Not all text may be legible when placed over the background image, so there are some options in the Content Background drop-down to put a background behind your content to help the text stand out.
Add Padding (optional)
Padding is how much space is around the blocks that you've placed. You can add/adjust padding to have less or more space around your content depending on how much of the background image you'd like to be visible.
- In the Padding field, customize the padding in the order of top, right, bottom, left. You can use either px (pixel) or % units.
- You can add separate padding values for a tablet and mobile display. For example, setting the Padding field to 0 0 0 50% will push the content to the right side of the display on desktop, but setting the mobile padding field to 0 0 0 0 will display the content at full width.
Save Block
- Click Save.
Note: To see how your block looks on tablet or mobile, click on the phone graphic drop-down in the upper right of the admin bar to select either Smart phone or Tablet.
